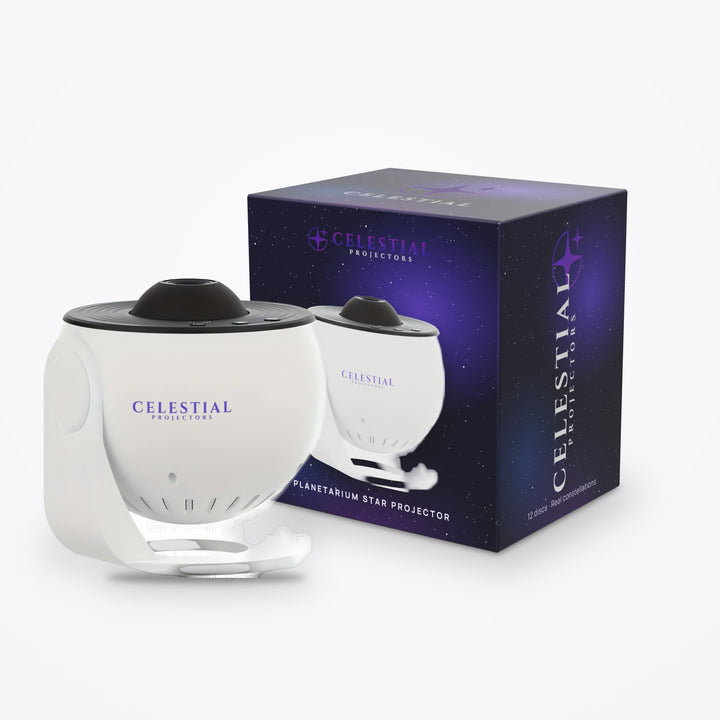
A galaxy projector turns your ceiling into something beautiful. A planetarium projector turns it into something you can learn from. The stars land where they actually sit in the sky, the patterns have names, and once you know a few of them, you'll start recognizing them outside on a clear night.
This guide is about getting the most from a disc-based planetarium projector: sharp images, a sensible way to learn constellations, the sky season by season, and activities that keep kids interested well past the first week.
Key takeaways
- Planetarium projectors use interchangeable discs to show real star patterns, unlike galaxy projectors, which show an artistic impression.
- A dark room and careful focusing make the biggest difference to how sharp the stars look.
- Learn a few "anchor" patterns first, such as the Big Dipper and Orion, then hop from them to their neighbors.
- The constellations you see on an evening change with the seasons; match your disc to the season and then check the real sky.
- Short, playful activities such as constellation hunts and storytelling keep kids engaged far longer than a lecture.
How disc projectors differ
Most galaxy projectors combine a laser or LED star field with colored nebula clouds. The result is gorgeous, but the stars are random. A planetarium projector works more like a slide projector: a bright light shines through a disc printed with an image of the sky, and a lens focuses that image onto your ceiling.
Because the image comes from the disc, swapping discs changes the whole scene. One night might be the northern sky with the Big Dipper; another might be a planet, the Moon, or a different region of stars. If you'd like the full technical picture, our explainer on LED, lens and disc technology covers it, and our planetarium vs galaxy comparison sets the two side by side.
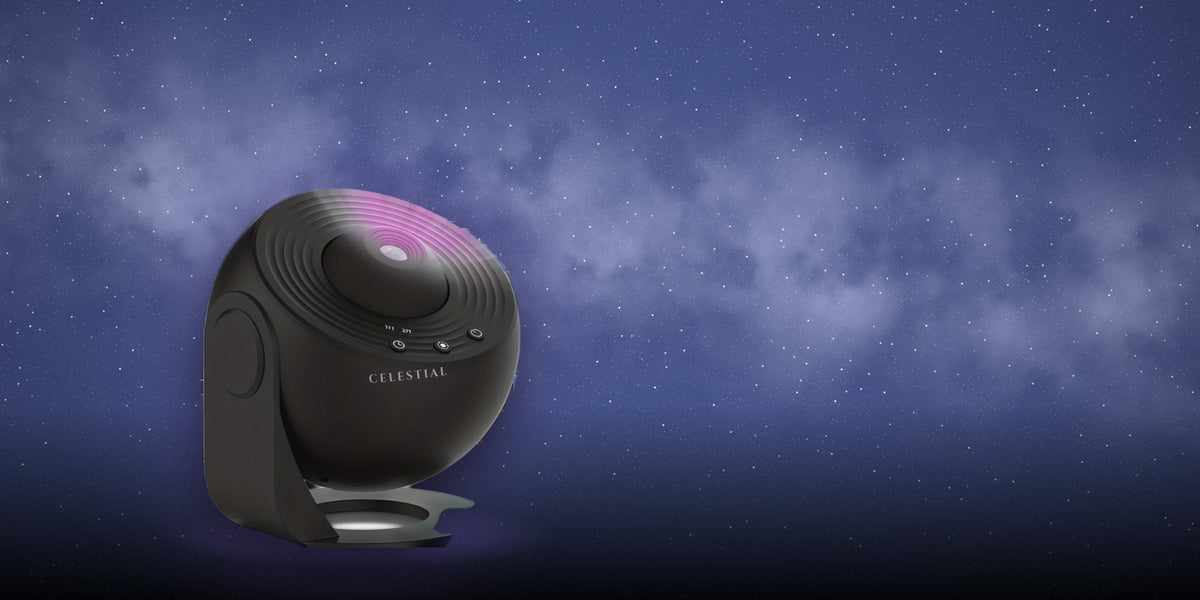
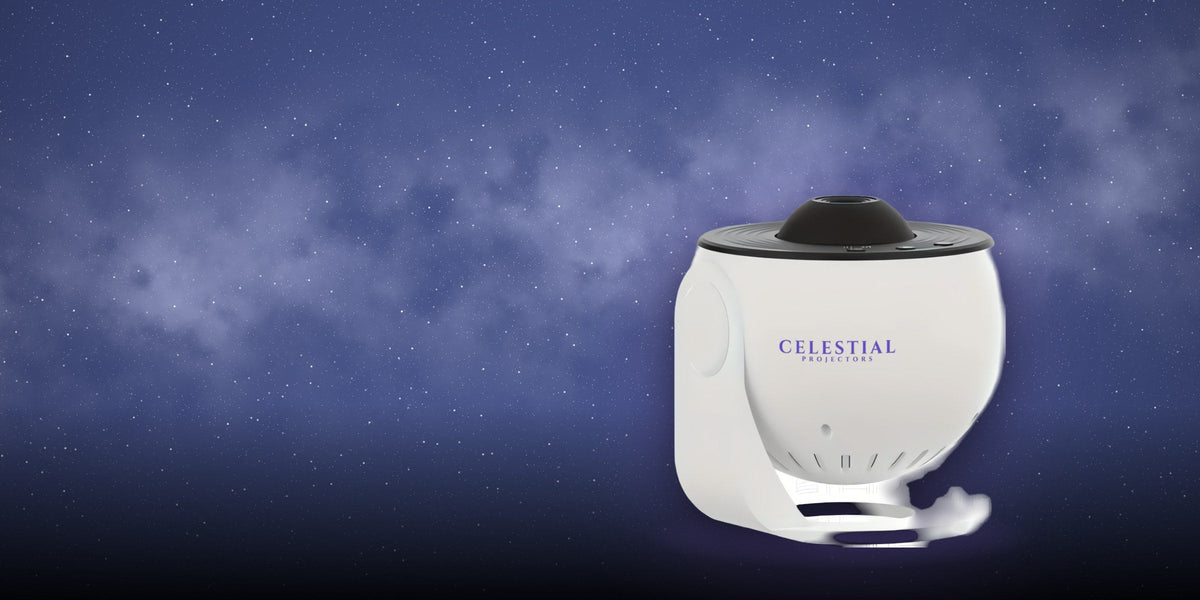
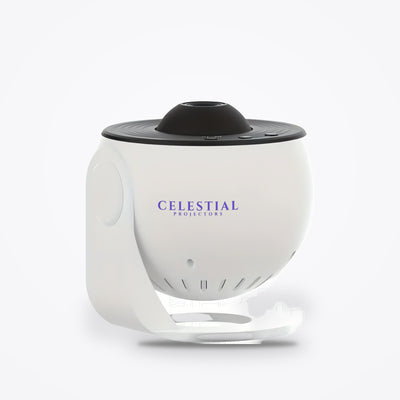
Our Planetarium Star Projector comes with 12 discs featuring real constellations and planets, which is plenty to build a home astronomy routine around.
Getting a sharp sky
Disc projectors reward a little care in setup. A sharp image is what makes the difference between "pretty dots" and "that's Cassiopeia."
- Darken the room completely. Disc images have fine detail that ambient light washes out first. Close blackout curtains, block light under the door, and cover standby LEDs.
- Choose a smooth, pale surface. A flat white ceiling is ideal. If yours is heavily textured, a smooth wall may give crisper stars.
- Set the distance. As a rule of thumb, roughly 5 to 10 feet from the surface works for most projectors. Closer gives a smaller, brighter sky; farther gives a bigger but fainter one.
- Focus slowly. Turn the focus control while watching a tight group of stars until the points are as small as possible. Refocus whenever you move the projector or change discs.
- Handle discs by the edges. A fingerprint on the disc shows up as a smudge across the sky. Store discs in their sleeve or case, away from heat and direct sun.
For a full walk-through of distance and angle, see our guide on how to set up a star projector.
Tip: Give your eyes five minutes in the dark before judging the image. Faint stars appear gradually as your vision adapts, and the sky on your ceiling will look much richer.
Reading your discs
Each disc is a different view, so it helps to know what you're looking at before you start naming stars.
- Check the label. Discs are usually labeled by subject, such as a constellation region, a planet, or the Moon. Keep a simple list of which disc shows what.
- Look for constellation lines. Depending on the disc, you may see lines or figures connecting the stars, or just the stars themselves. Lines are easier for beginners; plain star fields are better practice for the real sky.
- Find a familiar pattern first. Before you hunt for something obscure, locate one shape you already know, then work outward from it.
- Watch the orientation. If a familiar pattern looks backward, the disc may be inserted the wrong way round. Check for an orientation mark and flip it if needed.
Learning constellations
There are 88 officially recognized constellations, and trying to learn them all at once is the fastest way to lose interest. Astronomers learning the sky use a better method: start with a few bright, distinctive "anchor" patterns and hop from them to their neighbors.
Anchor 1: the Big Dipper
Seven bright stars in the shape of a ladle, part of the larger constellation Ursa Major. Follow the two stars at the end of the bowl, known as the pointer stars, out about five times the distance between them and you reach Polaris, the North Star, at the tip of the Little Dipper's handle. Follow the curve of the Dipper's handle away from the bowl and you'll "arc to Arcturus," a bright orange star, then "spike to Spica."
Anchor 2: Orion
Three evenly spaced stars in a row form Orion's Belt, framed by four bright stars at the shoulders and knees. Follow the belt one way and you reach Aldebaran, the red eye of Taurus the Bull. Follow it the other way and you reach Sirius, the brightest star in the night sky.
Anchor 3: Cassiopeia
A bright "W" or "M" shape sitting across Polaris from the Big Dipper. When the Dipper is low, Cassiopeia is high, and the other way round, so between them you can find north any time of year.
Build out slowly
Learn one anchor, then one neighbor a week. Within a couple of months you'll know a dozen patterns well enough to spot them outside, which is far more satisfying than half-remembering forty.
The seasonal sky
As Earth orbits the Sun, the part of the sky visible in the evening shifts through the year. That's why Orion is a winter constellation for northern-hemisphere viewers and Scorpius belongs to summer. The table below covers evening skies from mid-northern latitudes, which includes most of the US.
| Season | Look for | Easy anchor |
|---|---|---|
| Winter | Orion, Taurus and the Pleiades, Gemini, Canis Major | Orion's Belt |
| Spring | Leo, Big Dipper high overhead, Boötes, Virgo | Leo's "backward question mark" |
| Summer | The Summer Triangle (Vega, Deneb, Altair), Scorpius, Sagittarius | The Summer Triangle |
| Fall | Pegasus, Andromeda, Cassiopeia high in the north | The Great Square of Pegasus |
Planets don't stay put the way constellations do. They wander slowly along a band of sky through the zodiac constellations, so a planet disc is best used for learning what each planet looks like, then checking a stargazing app or almanac to see which ones are visible outside this month.
A good habit is to match your disc to the season. If it's October, spend the week on a disc showing the fall sky, then step outside on a clear evening to find the Great Square for real.
Activities for kids
Children learn the sky best through play. A few ideas that work well from about age five upward:
- Constellation hunt. Name a pattern and give them a small flashlight to circle it on the ceiling. Skip laser pointers, which aren't safe for kids to wave around. Award a sticker per find.
- Story night. Many constellations come with myths, like Orion the hunter or Cassiopeia the queen. Tell one story per night under the matching stars. Better still, ask kids to invent their own story for a pattern.
- Draw your own constellation. Give them black paper and a white pencil to copy a pattern from the ceiling, then turn it into their own creature.
- Dot-to-dot star maps. Print a simple star chart and have them connect the stars after spotting them on the ceiling.
- Planet facts game. With a planet disc showing, take turns sharing one fact about it. Parents can look up answers together.
- The real-sky challenge. On a clear night, take them outside to find the one pattern they've learned best. The moment it clicks is the one they'll remember.
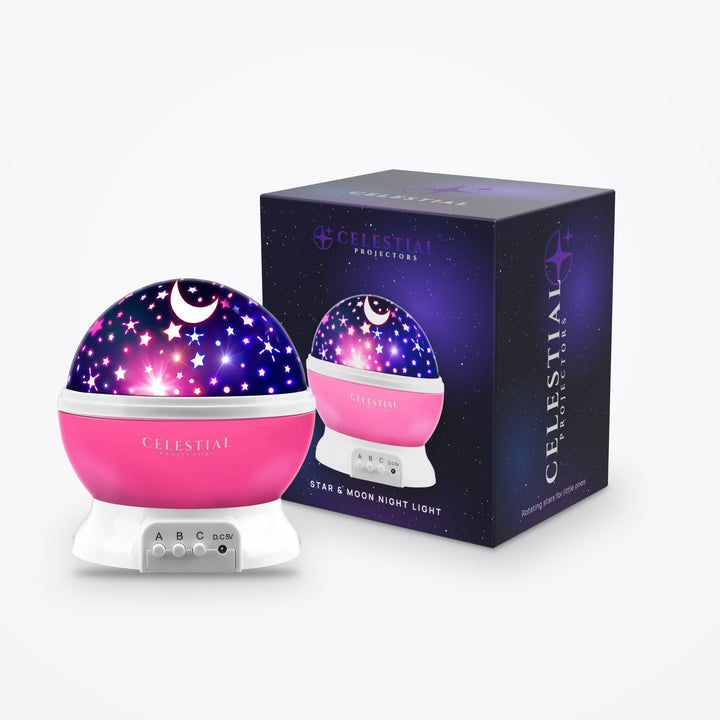
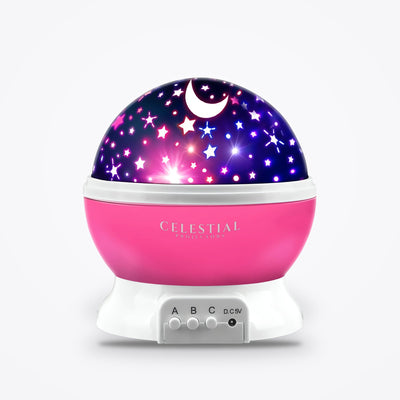
For younger children who aren't ready for constellation names, a simpler light like the Rotating Star & Moon Projector is a gentle starting point. Browse more in the star projectors for kids collection, and see our article on bringing astronomy education home for learning ideas.
Taking it outside
The real payoff of a planetarium projector is recognizing those patterns overhead. A few tips for your first stargazing sessions:
- Find a dark spot. A backyard away from porch lights works for bright constellations. A park or rural area shows many more stars.
- Let your eyes adapt. Give it 15 to 20 minutes away from screens and bright lights. Use a red flashlight to read charts without losing your night vision.
- Start with your anchors. Find the Big Dipper or Orion first, then hop to the neighbors you've practiced on the ceiling.
- Use an app as a check, not a crutch. A stargazing app can confirm what you've found, but try to spot the pattern yourself first.
Keep the projector part of the routine afterward. Many families use it on cloudy nights to keep practicing, then head outside when the sky clears. It also makes a great centerpiece for a themed room; see our space-themed bedroom ideas. Compare all disc-based models in our planetarium projectors collection.
FAQ
Do planetarium projectors show real constellations?
Yes. Disc-based planetarium projectors project images of real star patterns, so the constellations on your ceiling match their real shapes. Galaxy projectors, by contrast, usually show random stars and colored clouds for atmosphere.
Why do the stars from my planetarium projector look blurry?
Usually it needs refocusing, the room isn't dark enough, or the disc has a fingerprint or dust on it. Refocus after moving the projector or changing discs, darken the room fully, and handle discs only by the edges.
What age is a planetarium projector good for?
Many kids enjoy constellation activities from around age five, and adults find them just as rewarding. For younger children, a simpler rotating star and moon projector may be a better first light.
Which constellations should a beginner learn first?
Start with bright, distinctive patterns: the Big Dipper, Orion, and Cassiopeia. From those you can find Polaris, Sirius, Aldebaran, Arcturus, and other landmarks by star-hopping.
Will the projected sky match what I see outside tonight?
The constellation shapes match, but the evening sky changes with the seasons, and planets move over weeks and months. Choose a disc that fits the season, and use a stargazing app to see what's up on a given night.