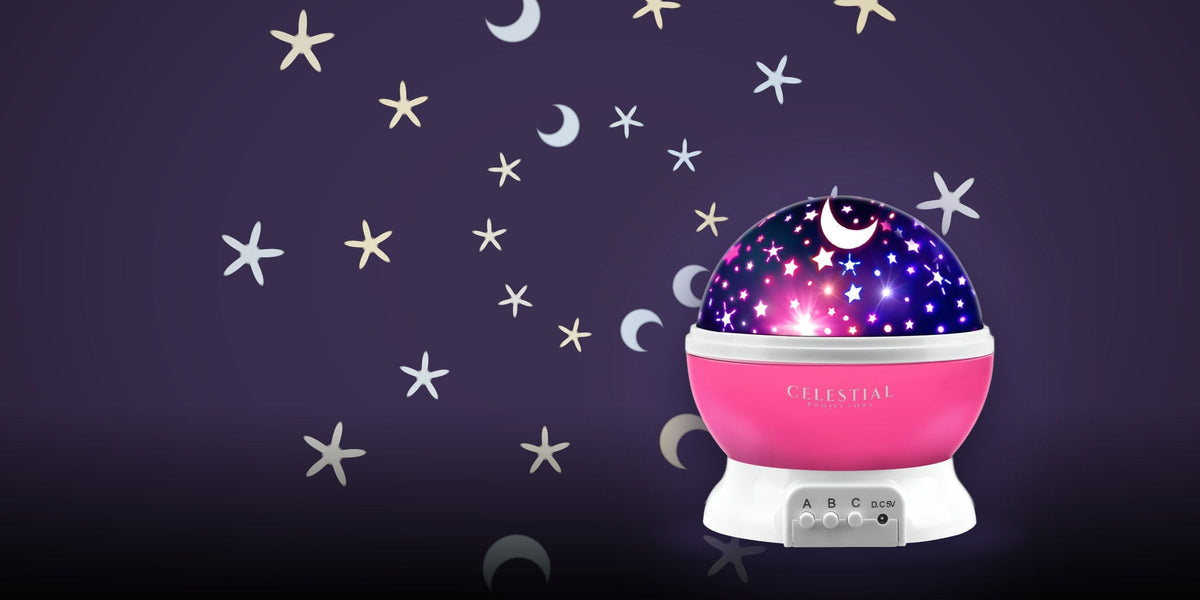
Your ceiling looks magical, but the photo looks like a blue blur. That is a familiar mismatch when a phone tries to photograph a dim room with moving decorative light. The answer is usually a calmer setup and a few deliberate test shots, rather than turning every effect up to maximum.
You do not need a professional camera to make a thoughtful image of your space. Start with the phone you have, the projector you enjoy and a stable place to put both. The goal is to show the atmosphere you created, with enough room detail to make the picture feel inviting.
Build the scene before opening the camera
Choose one part of the room to feature. A sofa beneath the illuminated ceiling, the corner of a bed or a reading chair gives the light a setting. A frame filled entirely with ceiling can show the pattern, but it may lose the sense of being in a real room.
Clear the distracting objects that sit inside the frame, not the entire house. A bright charging indicator, a crumpled shopping bag or a reflected television can pull attention from the glow. Keep a few familiar textures, such as a blanket or cushion, so the room still feels lived in.
Turn off the main overhead light and take a first look through the camera. If the furniture disappears completely, try one low lamp outside the frame. Move it or dim it until it gives the room a little shape without washing out the projection.
Choose one effect and slow things down
Start with a single color combination. Blue and violet, soft green or a restrained ocean effect is easier to judge than a fast cycle through every mode. If your projector allows independent control, compare the cloud effect alone with the stars added.
Movement matters because the camera records light over time. A pattern that drifts during a longer exposure can look softer in the photograph. If your model offers speed control, try its slowest setting or a stationary effect before experimenting with faster movement.
For example, our Northern Lights Aurora Projector lists three speeds, while the Ocean Wave & Nebula Projector offers a different water-like look. Use the controls your specific model provides; projector features are not interchangeable.
Give the phone a steady home
A small tripod is useful, but a secure phone stand on a solid table can also help. Set the composition before pressing the shutter and avoid touching the table while the photo is being captured. Use the camera’s timer if tapping the button nudges the phone.
On supported iPhones, Night mode may activate in low light and take several seconds to finish. Apple’s Night mode guidance recommends keeping the phone still and using a stable surface or tripod. It also explains how to adjust capture time. Availability and controls vary by phone, so check your device’s camera guide.
Take a normal photo and a Night mode photo of the same composition if your phone allows it. Compare the actual files rather than assuming the longer exposure is better. One may keep the moving pattern clearer while the other reveals more of the room.
Protect the color from an overbright exposure
If the brightest part of the ceiling turns pale or nearly white, try a slightly darker exposure using your camera’s exposure control. Make a small change, take another image and compare. Keep some detail in the brighter areas without making the furniture disappear.
A simple three-shot experiment works well: the camera’s default exposure, one a little darker and one between the two. You are looking for a pleasing balance, not a universal numerical setting. Wall paint, room brightness and projector position all change the result.
Keep flash off for the atmospheric shot. A burst of direct light can dominate the scene you are trying to record. On iPhone, Apple also notes that manually enabling flash deactivates Night mode.
Frame for the place the photo will live
For a wide blog or desktop image, try landscape orientation with a little furniture in the lower third. For a vertical social post, include the room corner so the eye has a route from furniture to ceiling.
Leave space around important objects. App previews often crop differently from the camera view, and a beautiful bedside lamp can disappear if it sits on the very edge. Make one wider backup photograph before changing the setup.
Keep the projector positioned according to its instructions and photograph the illuminated surfaces. Do not point its light source into eyes or the camera lens, and do not reposition it unsafely just to hide a cable. If the cable is distracting, choose another angle.
Edit lightly, then keep a setup note
Start with straightening and a modest crop. Adjust brightness and color gently while comparing the image with the room you saw. Heavy saturation can erase subtle transitions and make an already colorful ceiling look flat.
Save a short note with the projector mode, brightness, position and camera mode you used. Next time you change the bedding, rearrange a shelf or try a different color, you can start from a setup that already worked.
The strongest room photograph does not need the most stars or the brightest ceiling. It needs a clear composition, a steady camera and enough restraint to let the atmosphere come through.